_______________________________________________________________________________________________________
Creating 360 Scenes with Maya
_______________________________________________________________________________________________________
In the first week of the emerging technology module we looked at creating 360 scenes inside maya, as well as the MASH feature, a powerful motion graphics and visual effects plugin. In the first workshop we were tasked with creating a simple moving scene in Maya which we would then render and upload as a 360 VR YouTube video. I had the idea of making a very short sequence of a ball falling down a spiral staircase.
Storyboarding and Planning
To prototype and plan ideas for sequences such as this, you would use 360 storyboards or story spheres. The main difference between them and regular story boards is the point of view as they need to showcase additional planes rather than just one point of view, one way you could achieve something like this is by drawing the sequence from top-down, which enables planning multiple angles within the scene at once. For this scene however, I did not feel like I needed to draw a storyboard as the scene itself is very simple and does not have any distinct events happening to plan out.


Modelling
I started the modelling with the spiral staircase around the centre of the scene, I made it out of a simple cube which I scaled to size and applied a bevel to, I also moved the pivot to the world centre with ‘d’. I took the shape I made and used the ‘duplicate special’ function to make an array of the shapes to form the spiral staircase. With a similar method I added a segmented wall, I modelled one section out of a cube and applied a bevel to it, I then moved the pivot back to the world centre with ‘d’ and made use of the special edit to repeat the shape along the same spiral as the stairs.

For the balls bouncing down the staircase I had the idea of using maya’s rigidbody system. To do this I added a sphere to the scene and positioned it at the top of the staircase. Under the FX toolset I added a active rigidbody to the sphere and a passive rigidbody to both of the groups for the steps and the wall segments. The ball needs to be active as I want it to move in the scene and collide with the staircase, which needs to be passive as I want it to be a static collider within my scene. I thought that using the rigidbody system would make sense here as it’s a test scene and I could save on time by not having to keyframe movement by hand but rather let Maya’s physics take care of it. I added a gravity field so that the ball would fall down the stairs and I tweaked the settings, slightly increasing the magnitude of the gravity and the mass of the ball to speed up the animation.
To finish off I added a light source, a simple area light, and set up the camera, making sure to change it to a VR over/under camera. I then followed the tutorial on exporting the scene as a YouTube video, I first exported an image sequence and then uploaded it through premier pro straight to YouTube as a VR video
Video
_______________________________________________________________________________________________________
Maya MASH Networks
_______________________________________________________________________________________________________
For the second workshop we looked at the MASH plugin inside maya, a procedural system which allows you to create complex simulations and animations with a very intuitive and easy to use interface. I followed the set of tutorials on Canvas to try and familiarise myself with the plugin.
Mash
MASH is a feature based on nodes which makes it quite easy to work with and understand, the different nodes have different effects on the geometry in the scene and can be further controlled with falloff objects to mark points of influence and to dynamically control the effects of the nodes.

The effect above was created using a very simple setup of a distribute node to form the grid and a random node to create the individual particle displacement which I then scaled and applied a falloff to, meaning the effect will only occur when the falloff object passes close enough to grid.
The other tutorials included a rollercoaster cart smashing through wall effect which was made with a very similar method to the first exercise. This time the multiple distribute nodes were paired up to make a staggered brick wall, and the falloff object for the displacement was the cart itself. The last scene was a more abstract psychedelic-like effect which worked by combining the distribute node with the curve node, to duplicate the diamond shape along a curve and then animate it.


_______________________________________________________________________________________________________
FrameVR – Virtual Portfolio
_______________________________________________________________________________________________________
The second week of the emerging technology module had us looking at FrameVR; a 3D collaboration and creation tool that allows users to meet, learn, and work together in a virtual space. We spent some time familiarising ourselves with the tool and then were tasked with setting up our own frame and creating a virtual portfolio

After creating the account the dashboard immediately presented the ability to create the first frame. I gave it a name and then got the option to pick out from quite a lot of preset environments to set as the frame environment.
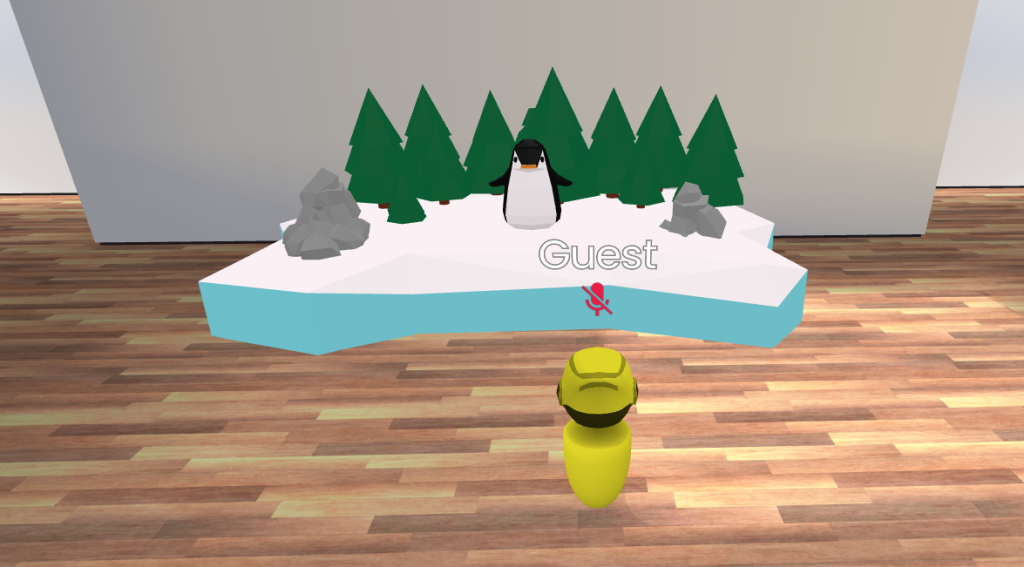
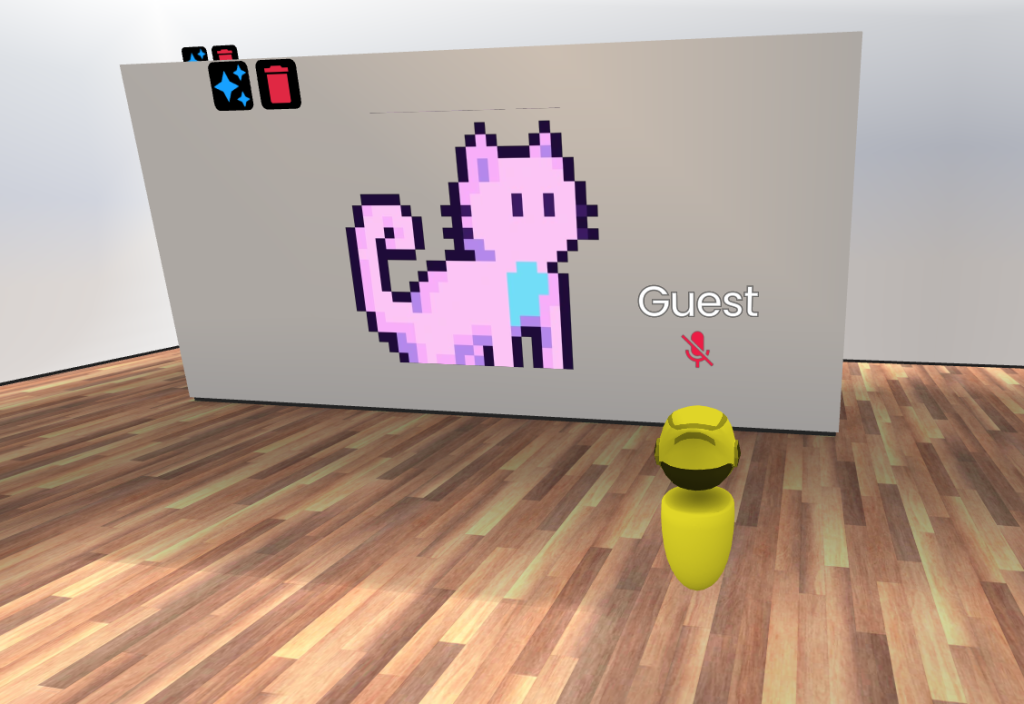
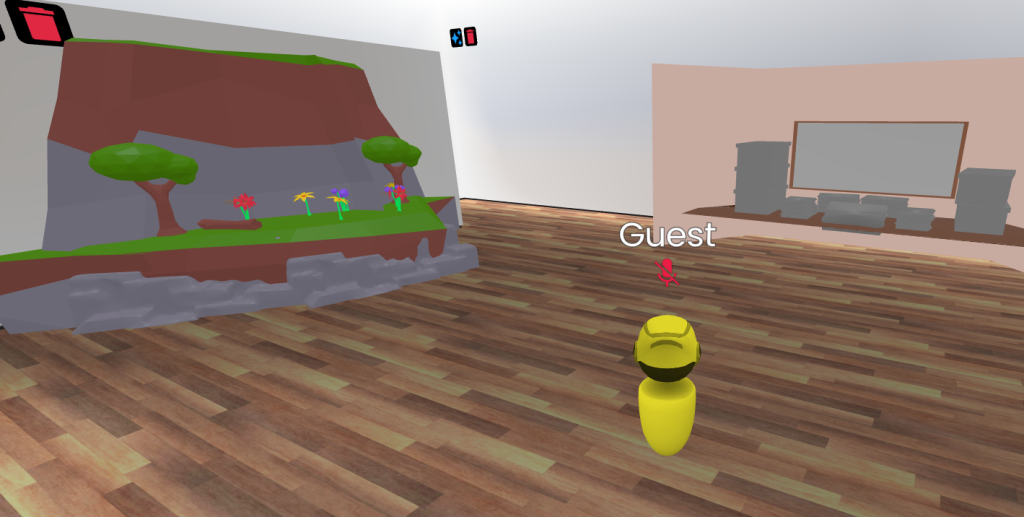
To help me build my portfolio, I noticed there was a function that let you upload and add 3D models directly into the scene from your computer which was quite convenient. In addition to 3D models, you could add a variety of things into the scene, such as text, 2D images, 360 scenes, videos, and a lot of different effects. The idea of mixing different forms of media together was quite interesting to play around with and think about. I uploaded some of my assets from past projects and started arranging them in the scene. I had the idea of making a few sort of exhibition panels for the individual groups of models. I arranged them at different panels around the room.
My Frame
https://framevr.io/emergingtechpf1
This gave me a decent idea of what I could do if I decided to go with this kind of technology for the second part of the assignment. I would most likely develop a interactive exhibition or an immersive portfolio which could combine different forms of media that the user could explore at their own pace. The advantage of using a tool like this to present ideas to others is the ease of use. I imagine FrameVR is incredibly intuitive and easy to pick up with very little to no experience from the user’s perspective. It doesn’t even require you to register an account if you just want to view someone else’s frame and the software is browser based so it doesn’t require any downloads.
On the other hand my personal experience with this tool was not too great and it will probably keep me from considering using this tool in particular later on. I feel that this was mostly due to the awkward controls and editing interface. I was able to rebind and change some of the defaults for controls, such as setting strafing to ‘a’ and ‘d’ rather than ‘q’ and ‘e’ However I was not able to configure or edit the interface at all and it felt like I was fighting against it for the majority of my time working on the portfolio.