Intro
To model my asset I used Autodesk Maya 2023, a software I had not previously used and was not comfortable with at all. Despite this I made an effort to practice and learn a few of the tools that maya made available, especially including the tools I would end up using the most such as the extrude tool, which extends new vertices, edges or faces out of existing spots on a mesh, or the bevel tool, which creates a bevel along selected edges or faces.
Modelling
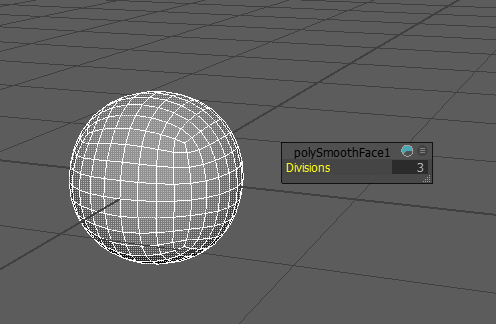
I started off with a subdivided cube rather than a sphere because of the simplicity of the shape, so I wouldn’t have to remove too much or fight with existing topology, as well as for future predictability if I decided to further subdivide the mesh.
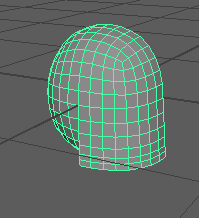
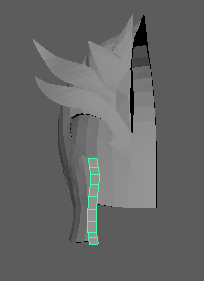
I cut some faces off of the sphere at the bottom of the front of the mesh and used the extrude tool to extend the edge downwards, then using the multicut tool I inserted a few edge loops into the new face.

I made use of the scale tool to make sure all vertices along an edge were on a straight line, if I hadn’t done this the mesh could have deformed unpredictably upon further modelling. I deleted half of the mesh as I intended on modelling only one half of it and then mirroring it to form the complete shape, this would cut down the modelling time and make it overall easier. I proceeded to use the move tool to arrange the vertices along the bottom edge at the desired height after which I removed some faces from the front of the mesh to loosely define the shape of the helm’s front face.

I gave the mesh a volume at this point, which in hindsight was a mistake, I should have waited until after mirroring the shape and until more of the mesh was refined, adding a volume at this point meant I would have to do a lot more work later on when finalising the shape of the helm however I did not notice this at the time. I smoothed out the holes by moving vertices with the move tool until I was happy with the result.
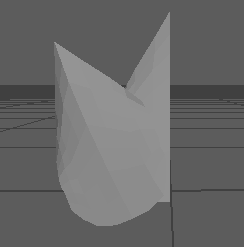
At this point I began modelling the ornaments that were to go on the face of the helm, here I also use the technique of modelling only one half of the shapes and then mirroring them across. For this leaf shape I started out with a plane and scaled the rows of vertices down to achieve the leaf-like shape, I made sure to clean up the mesh and welded the top vertices into a single point.
At this time I discovered the soft selection tool option which made the modelling process a lot easier for me, this tool works similar to the proportional editing tool in blender, in that it lets you transform an element with that transform affecting other nearby elements proportionally with distance to the selection.
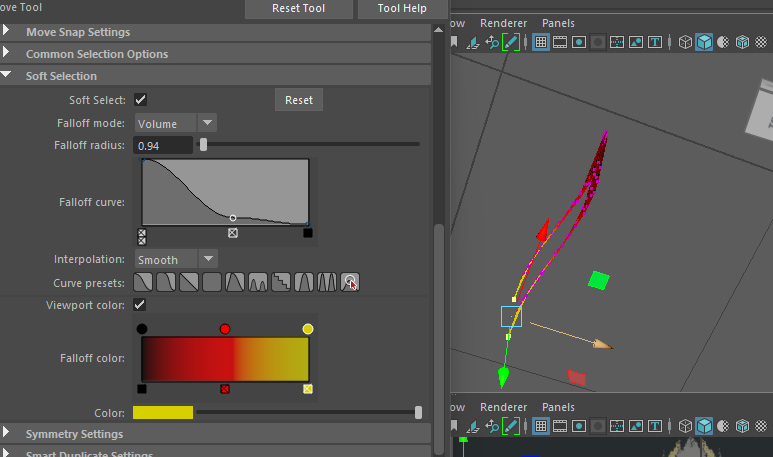
After tweaking a few of the settings, the tool helped me achieve more fluid or organic looking shapes in my model. I used this tool very commonly throughout the process of modelling the helmet, including slightly modifying the shape of the helm itself to make it look less boring.
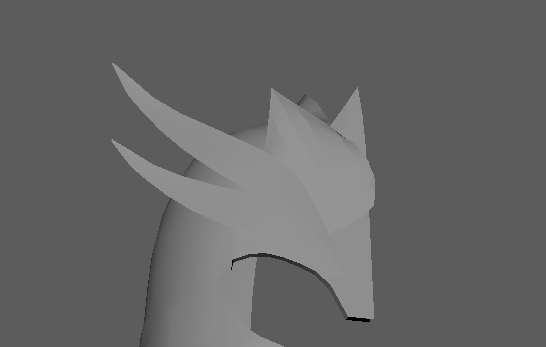
I arranged the different shapes on top of each other to get a better feeling for what the final model would look like, I then modelled the stone for the front of the helm and began working on the trim for the edges.
I was quite happy with how the basic lower-poly shape of the model turned out and I was ready to move onto the UV unwrapping part of the process.