Intro
For this week we were tasked to explore photo manipulation and photo bashing. After the lecture on photo bashing and upon researching these techniques myself I found them to be really useful and efficient ways of conceptualizing ideas, as they’re much faster than drawing the whole image yourself. Photo bashing consists of bringing together multiple pictures or photographs into one, they can then be manipulated or arranged in some way to form some composition or represent an idea. I found out that photo bashing is one of the primary techniques used for concept art, especially in 3d games, where other techniques would take too long.
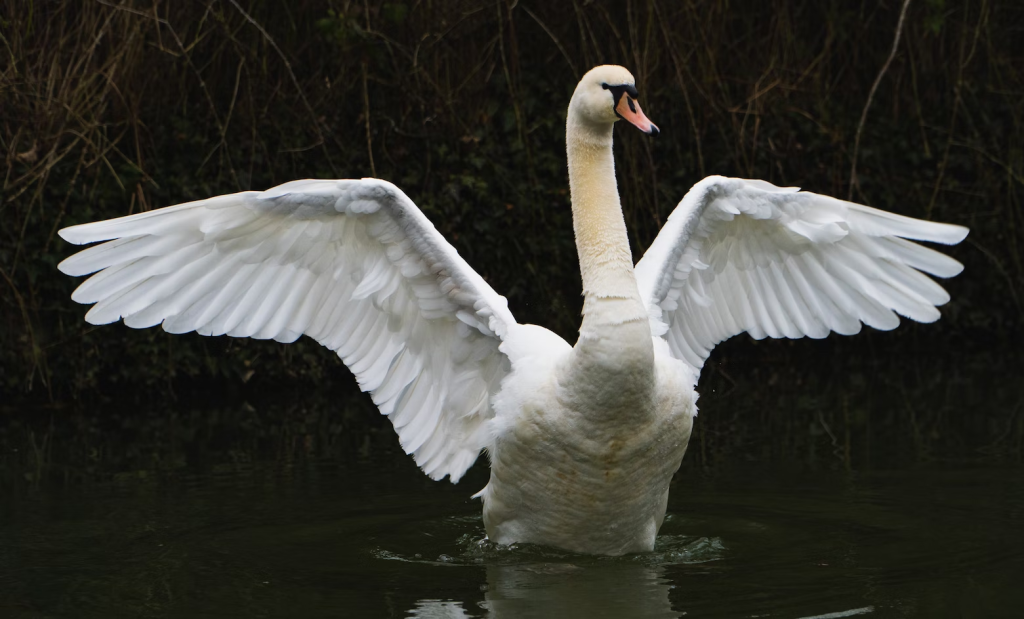
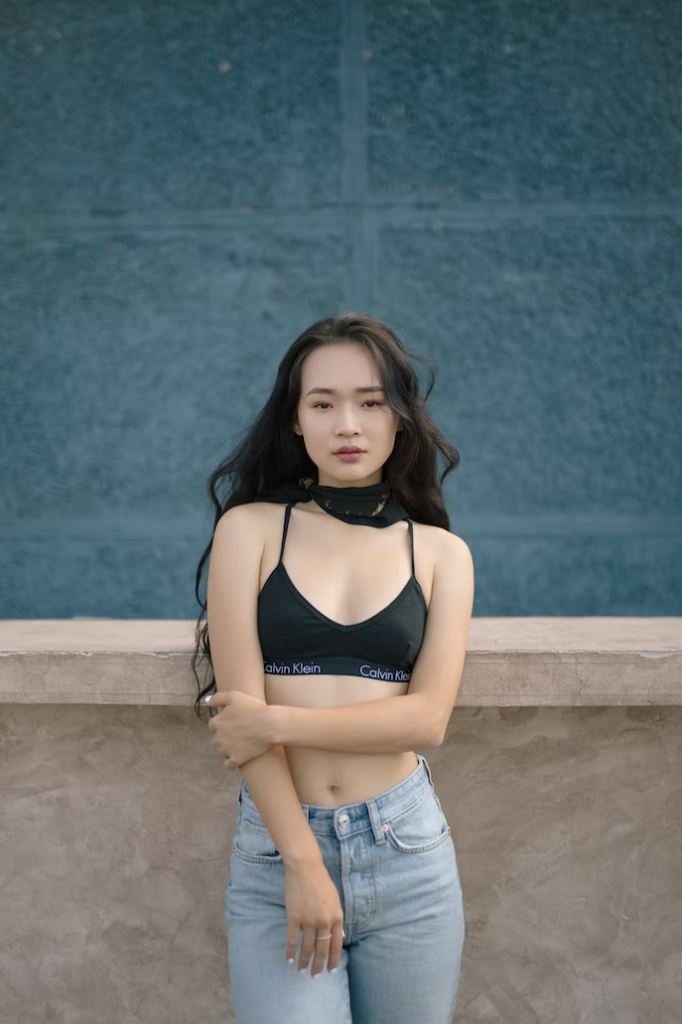
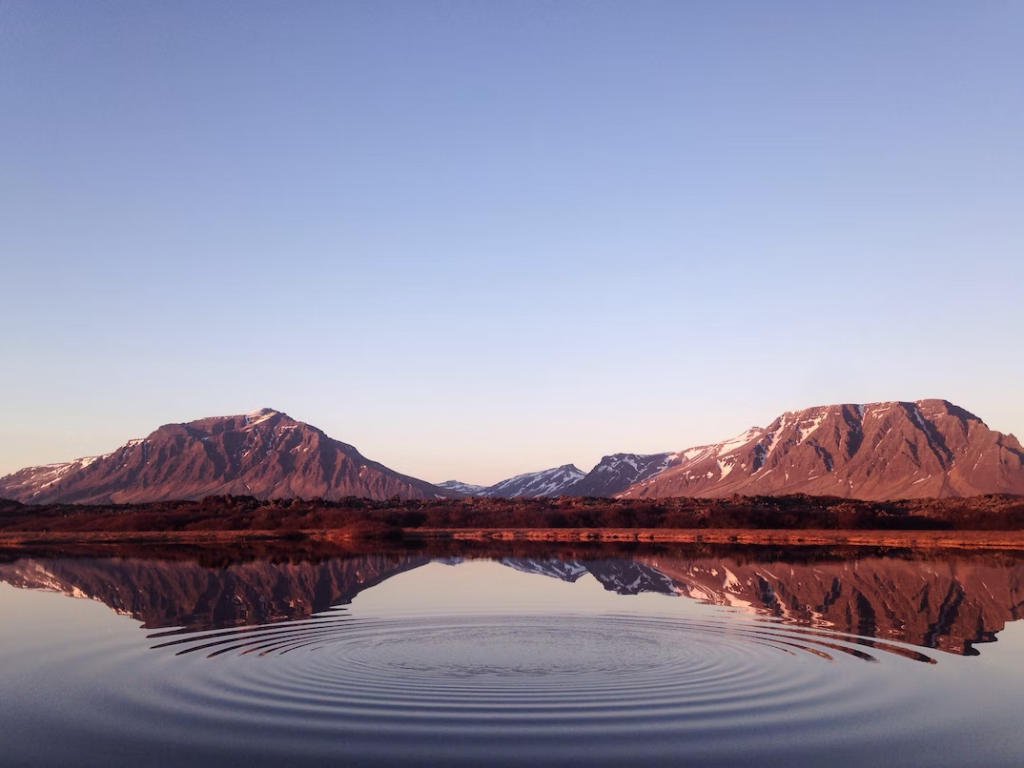
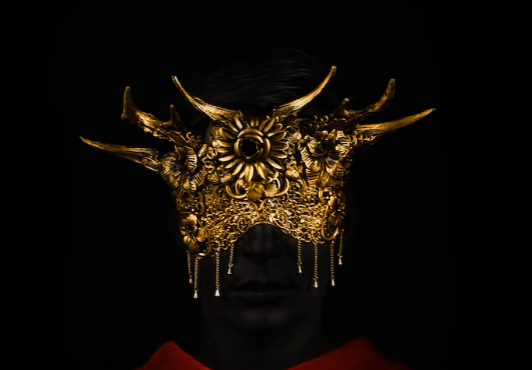
These are the images I used, I didn’t really have any initial idea so I browsed Unsplash until I found some images that looked like they could be used together.
Process
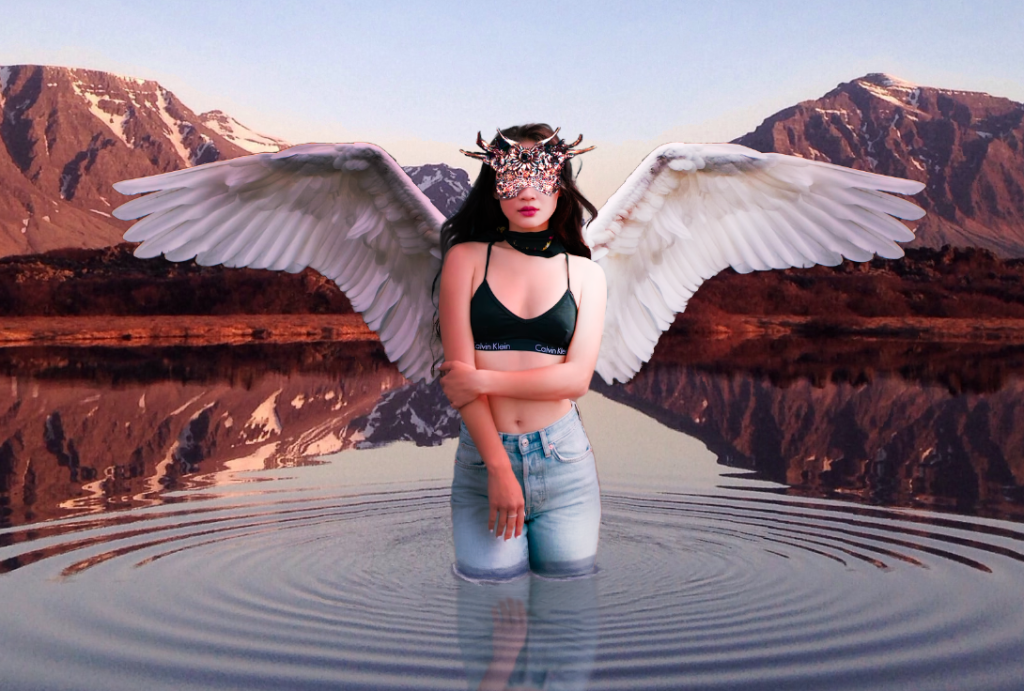
I began by taking the initial image of the swan and isolating it from it’s background with the use of the object select tool, the selection did not have to be very precise as I was only interested in keeping the wing anyway. I then cut off the wing from the rest of the swan using the polygonal lasso, I duplicated the layer and flipped the new layer horizontally. After this I pasted in the second picture and once again isolated it from it’s background. I arranged the images as I wanted them with the move tool.
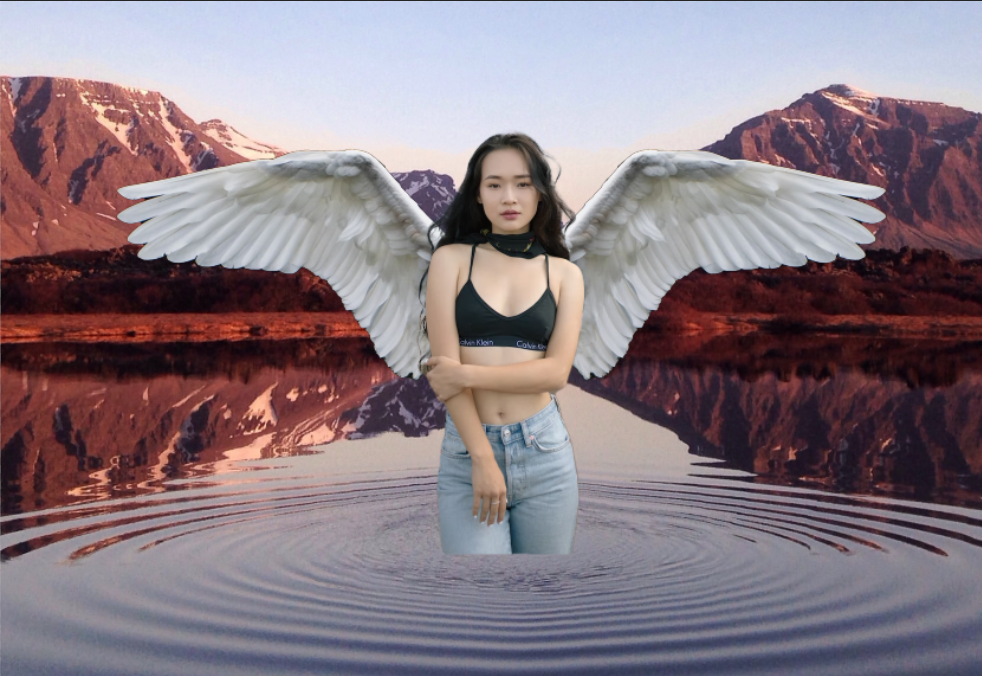
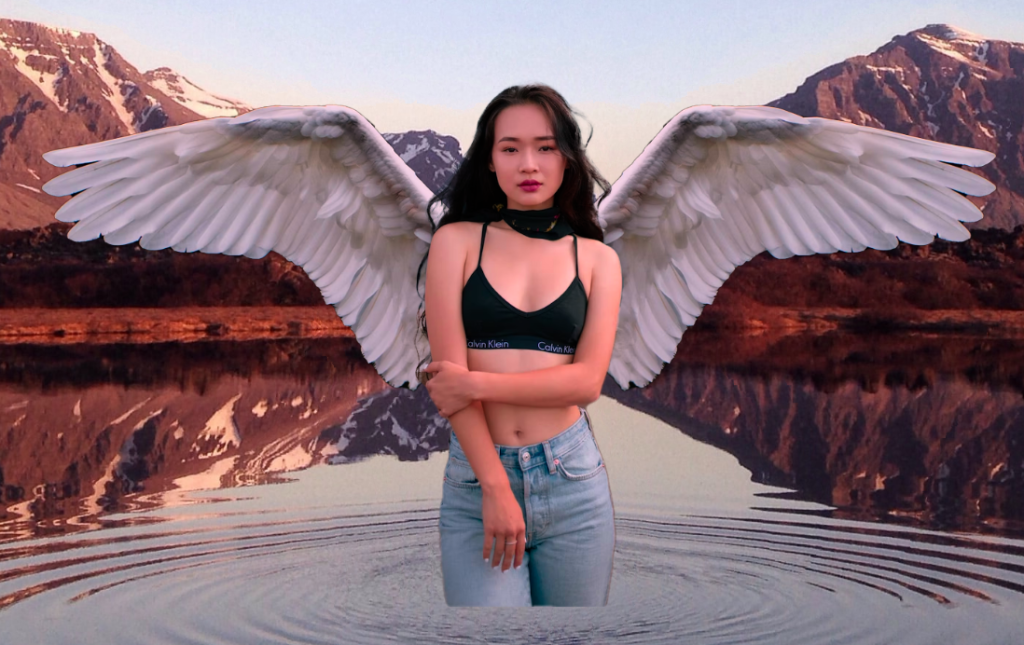
I merged the layers together to make it easier to adjust the photo later on and then imported the background image, I made sure the layers were ordered correctly so that the subject was visible. At this point I applied a colour adjustment to the merged layer so that it would match the background a bit better, as it looked slightly out of place beforehand.
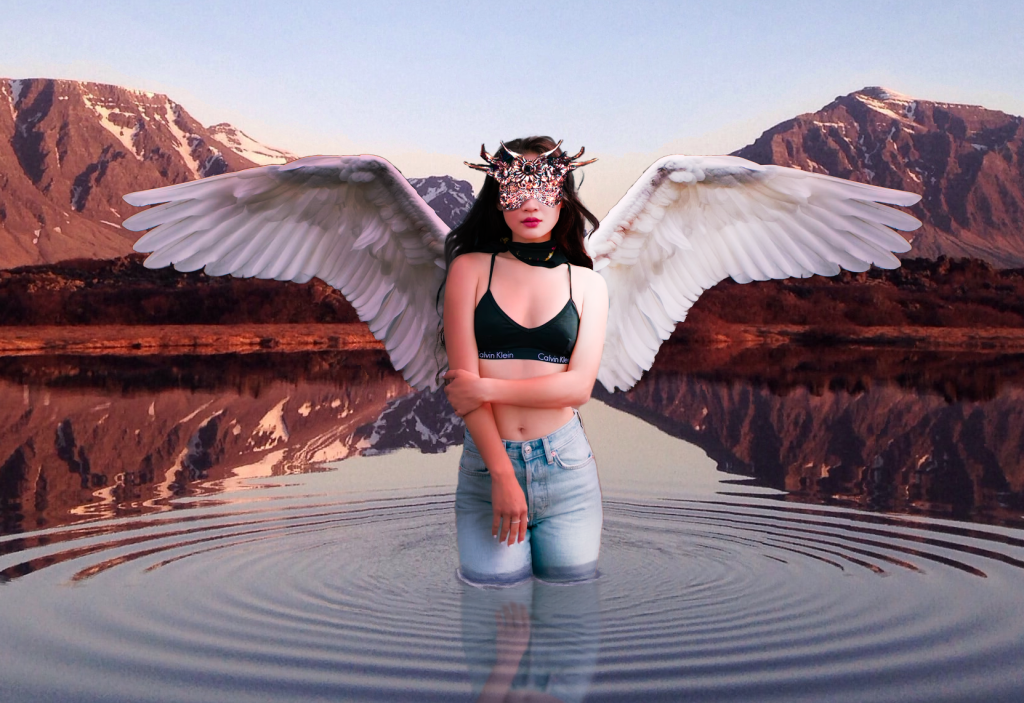
I brought in the last image, sized it down and cut the head piece out of the picture. Upon first bringing it in I couldn’t really align it with the rest of the composition so I had to use the free transform function by selecting the image and holding ‘Ctrl’ when dragging the transform controls. I then merged the layer with the main layer so that the colour adjustment would apply to it and after a few tweaks with the brush I was decently happy with how it turned out.
Using the brush tool I made some final adjustments to the image. To make it seem like the person was standing in the water I erased around the shape of the legs as they previously didn’t really make much sense. I then added in some detail to the whole image, like shadows that matched the direction of light in the background image.
Conclusion
This piece did not take much time to make at all and all though it is not complex in any way and could use a lot more polishing, it really does show that photo bashing is an extremely efficient way of making concept art. If I were to improve this piece I would definitely spend more time on matching the colour and lighting. Another thing I could have done is introduce some idea of depth of field, perhaps by using the blur tool on the background image.
(1) Caspar Rae (2022) [Photograph]. Available online: https://unsplash.com/photos/4Lg56k7Mecg [Accessed 5/10/22].
(2) Aiony Haust (2022) [Photograph]. Available online: https://unsplash.com/photos/orYdcTza06E [Accessed 5/10/22].
(3) Garrett Sears (2022) [Photograph]. Available online: https://unsplash.com/photos/rXVFCA3fQ4I [Accessed 5/10/22].
(4) Xyz Shoot (2022) [Photograph]. Available online: https://unsplash.com/photos/r9RUk2VtQng [Accessed 5/10/22].