Intro
This week contained a follow up lecture, which covered more of the principles of animation we were introduced to last week. In the lab session we were later taught inverse kinematic bone rigging inside of Unity. Inverse kinematic meaning that the movement of the bones can be controlled from points at the end of a determined limb so that the whole limb moves in a natural way.
I have had prior experience with inverse kinematics quite a while ago, both in 2D and 3D, so whilst I posted my 2D rig to the week’s discussion page, for this blog I decided to try relearn inverse kinematics inside of blender.
process
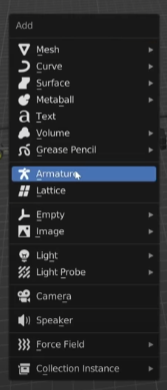
There is very little setup required to start rigging your 3D models inside of blender, pressing ‘Shift + A’ and selecting ‘Armature’ from the pop-up menu adds a bone to your scene. I used this to create a whole skeleton for my model and when I was done, ‘Shift + I’ lets you add inverse kinematic constraints to each limb.
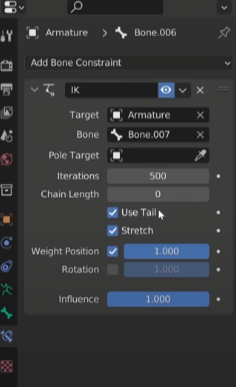
I made use of the kinematics constraints property tab to customise the limbs of my model, making sure to set the appropriate chain length and weight for each limb.
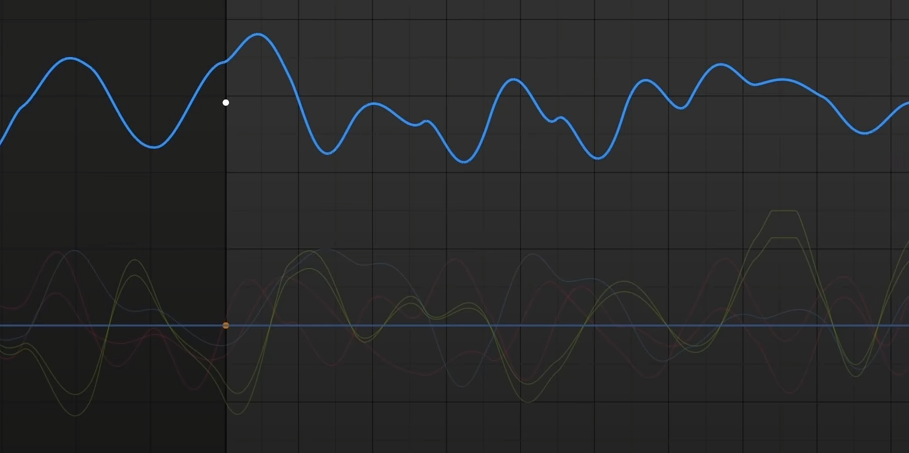
Rather than using straight-ahead or pose to pose animation ( very viable but much too time-consuming methods for 3D ) I decided to make an arc-shaped path for the kinematic bone of each limb to follow. This enabled me to later procedurally tweak the animations with curves, making them feel less stiff.
Finished piece + Conclusion
Overall I learned a lot from these 2 weeks on animation. I cant wait to further explore different techniques and keep practicing the fundamentals behind animating.